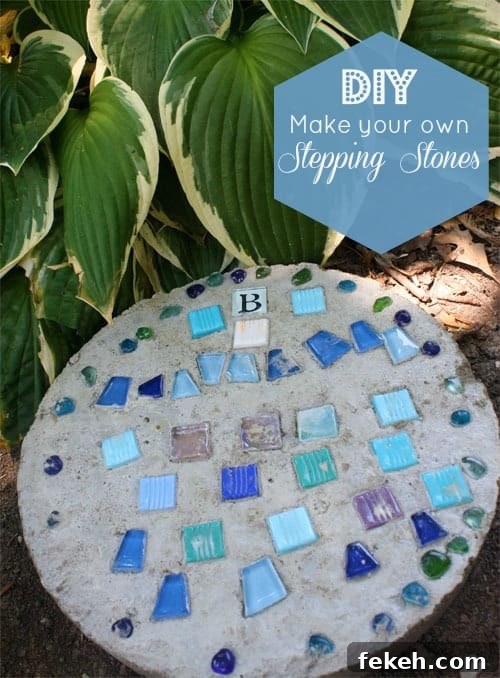
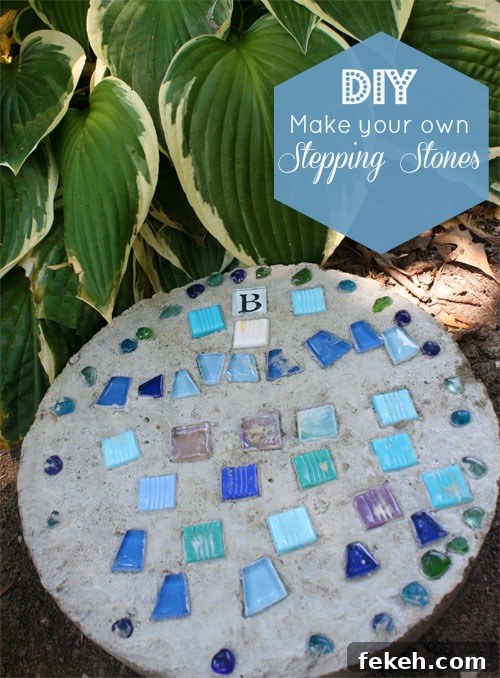
DIY Stepping Stones: Simple, Creative Ideas for Your Backyard
Stepping stones are an easy and attractive way to add character and function to your backyard. They create pathways, define garden borders, and provide a fun, hands-on project that children can help with. This guide shows a straightforward method for making concrete stepping stones using common supplies and a few decorative accents.
Materials and tools you’ll need
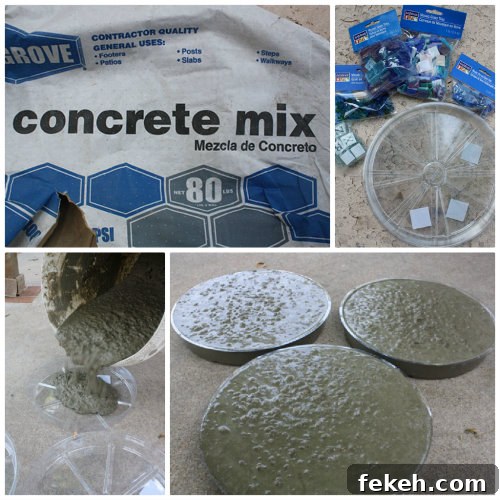
Gather a bag of concrete mix and some plastic pot saucers to use as molds. You can find these items at most big-box home improvement stores or garden centers. For decoration, collect small rocks, sea shells, pieces of glass, or mosaic tiles—craft stores and garden centers usually carry suitable mosaic tiles. You will also need a bucket for mixing, a stick or trowel for stirring, and paper towels for blotting excess water from the surface of the concrete.
Preparing and mixing the concrete
Follow the concrete bag’s directions for mixing, keeping the mixture consistency thick—about the texture of a milk shake. For multiple small stepping stones, start with a modest amount of dry mix; for example, roughly a third of an 80 lb bag may be enough for three medium-sized saucers, though exact needs will vary depending on saucer depth and number of stones. Add water gradually until you reach a smooth, stiff consistency, and mix thoroughly so there are no dry pockets.
Molding and decorating your stones
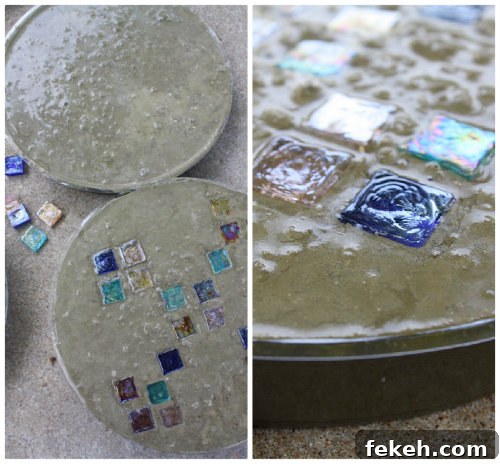
Pour the mixed concrete into each plastic saucer, filling to the desired depth. Wait approximately five minutes for the surface to begin setting; a thin film of water may appear on top. This surface moisture can be gently blotted with a paper towel if you prefer a cleaner finish before placing decorations.
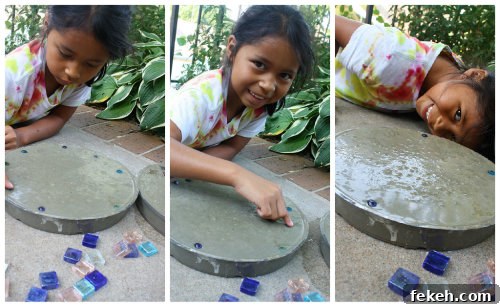
Now for the fun part: press your decorative pieces—glass, tiles, shells, or rocks—into the concrete to create patterns, initials, or simple shapes. Kids especially enjoy arranging colorful mosaic tiles or making handprints and footprints. Press decorations firmly enough that they are partially embedded in the concrete but avoid pushing so deep that details disappear.
Special touches: preserving handprints and footprints
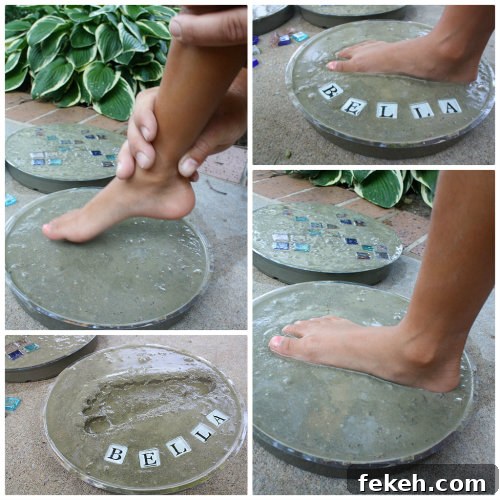
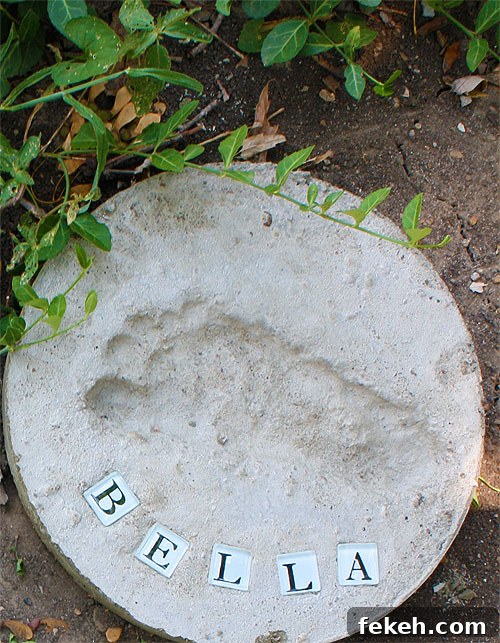
To create a lasting keepsake, press a small handprint or footprint into the center of the stone while the concrete is still soft. This makes a sentimental addition to any garden and is a wonderful way to remember a child’s small hands and feet. Take care to make a clear impression by having the child press evenly and steadily rather than wiggling.
Curing and finishing
Allow the stepping stones to harden and cure according to the concrete manufacturer’s directions. Typical curing takes at least 24 to 48 hours before unmolding and several days to reach a firmer strength; full curing may take longer depending on temperature and humidity. Carefully remove each stone from the plastic saucer once it is firm enough to handle. Let the stones sit for additional curing time out of direct traffic before placing them in the yard.
Placing your stepping stones in the garden
When fully cured, position the stepping stones along a desired walkway or scatter them as decorative accents around flower beds. For stability, you can set them on compacted soil or place a small bed of sand or fine gravel beneath each stone to level and secure it. Regular garden use will naturally integrate the stones into the landscape.
Final notes
This project is an affordable, creative way to personalize your outdoor space and involve children in a memorable craft. Use bold colors, natural materials, or sentimental imprints to create stepping stones that reflect your family’s style. Follow safety guidelines when handling concrete and supervise children during the decorating process. Enjoy the satisfaction of seeing handmade stepping stones enhancing your backyard for years to come.
Disclosure: A gift card was provided for supplies.